Tis the season to give! During the month of December, I’m giving away all the products I post about to you and a girlfriend (because it’s always more fun to win with a girlfriend!) So let’s get everyone ready for Christmas! All of the items I’ll be posting would make great gifts for you or your favorite gal(s). So forward it along to your friends for an extra chance to win, or forward it to your family as a gift idea for yourself. The more you forward, the greater your chances are to win the items for you and your friend!
In the next few posts, I’m concentrating on getting us ready for holiday parties. What better way to start than a hair tutorial?! I have received lots of questions about how I do my hair lately. Especially after this post, where I wear my hair up in a bun during the day and down and wavy at night while on a trip. I also didn’t wash my hair during that trip (I know it may sound gross), but, as with my fashion, my hair routine is practical and efficient. I try to get my hair to look the best I can with as little time spent as possible-ha!
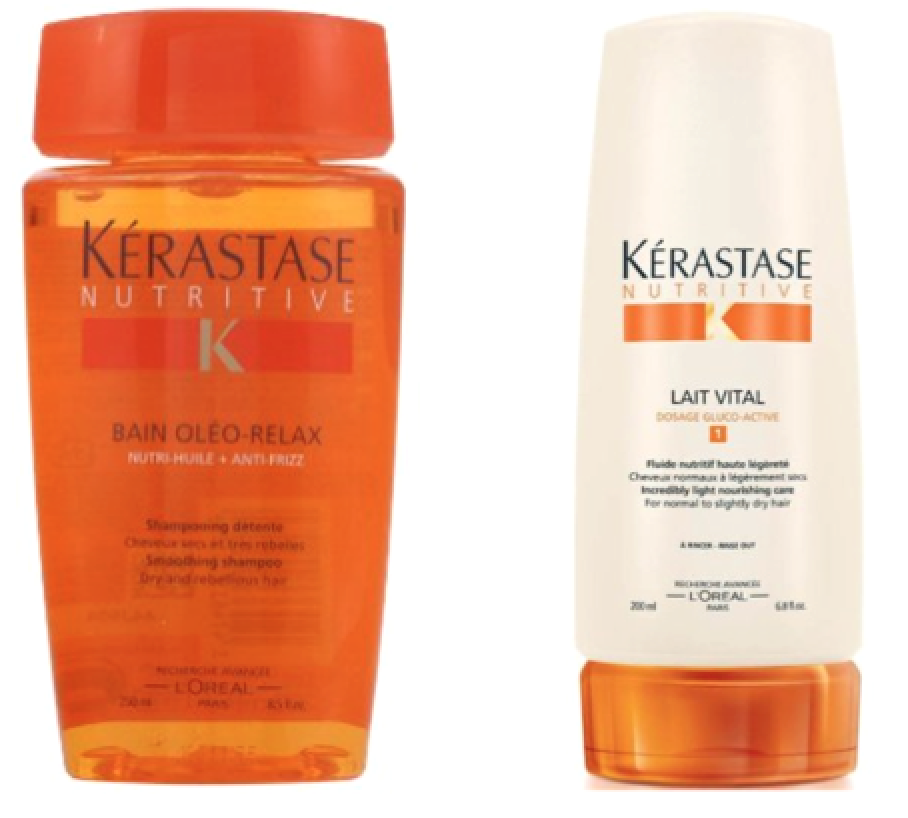
First, I start with a really good shampoo and conditioner (Kerastase is my favorite). In a weak moment, I bought this duo at CVS. Now, I love it and swear by it. It may be expensive, but it moisturizes my hair and doesn’t weight it down (or make me look like a wet dog), and it also keeps my hair cleaner longer. Therefore, it’s a great value, right?!?! Ha! Also, I don’t use it up as fast as other brands, because I only have to wash my hair every 2 to 3 days! (I can’t wait for two lucky readers to try this shampoo and conditioner and report back! You are going to love it!)
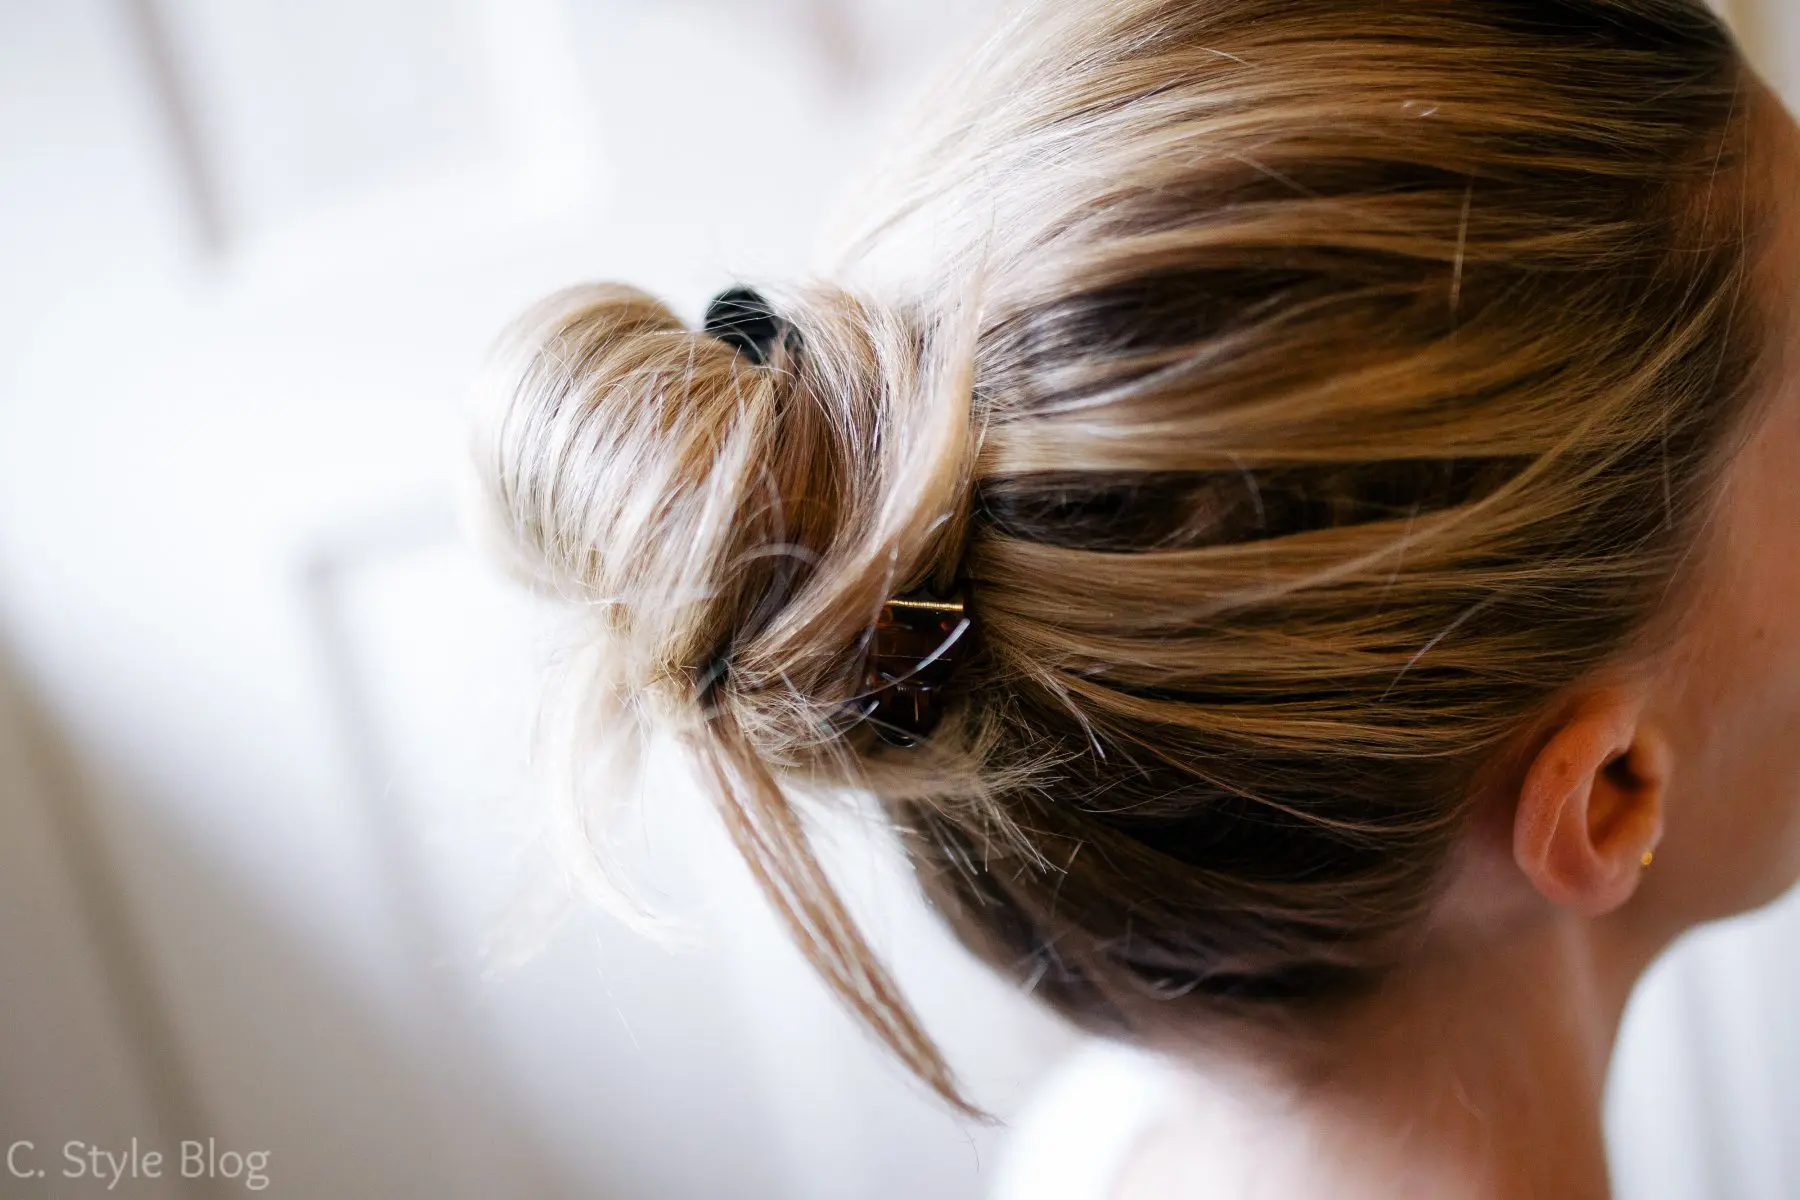
After washing my hair, I let it air dry or I blow dry it before putting it in a bun with clips. I’ll sleep with it in a bun, or I’ll wear it around during the day. The clips help avoid the unwanted kink that rubber bands make. For how I do my bun click here.
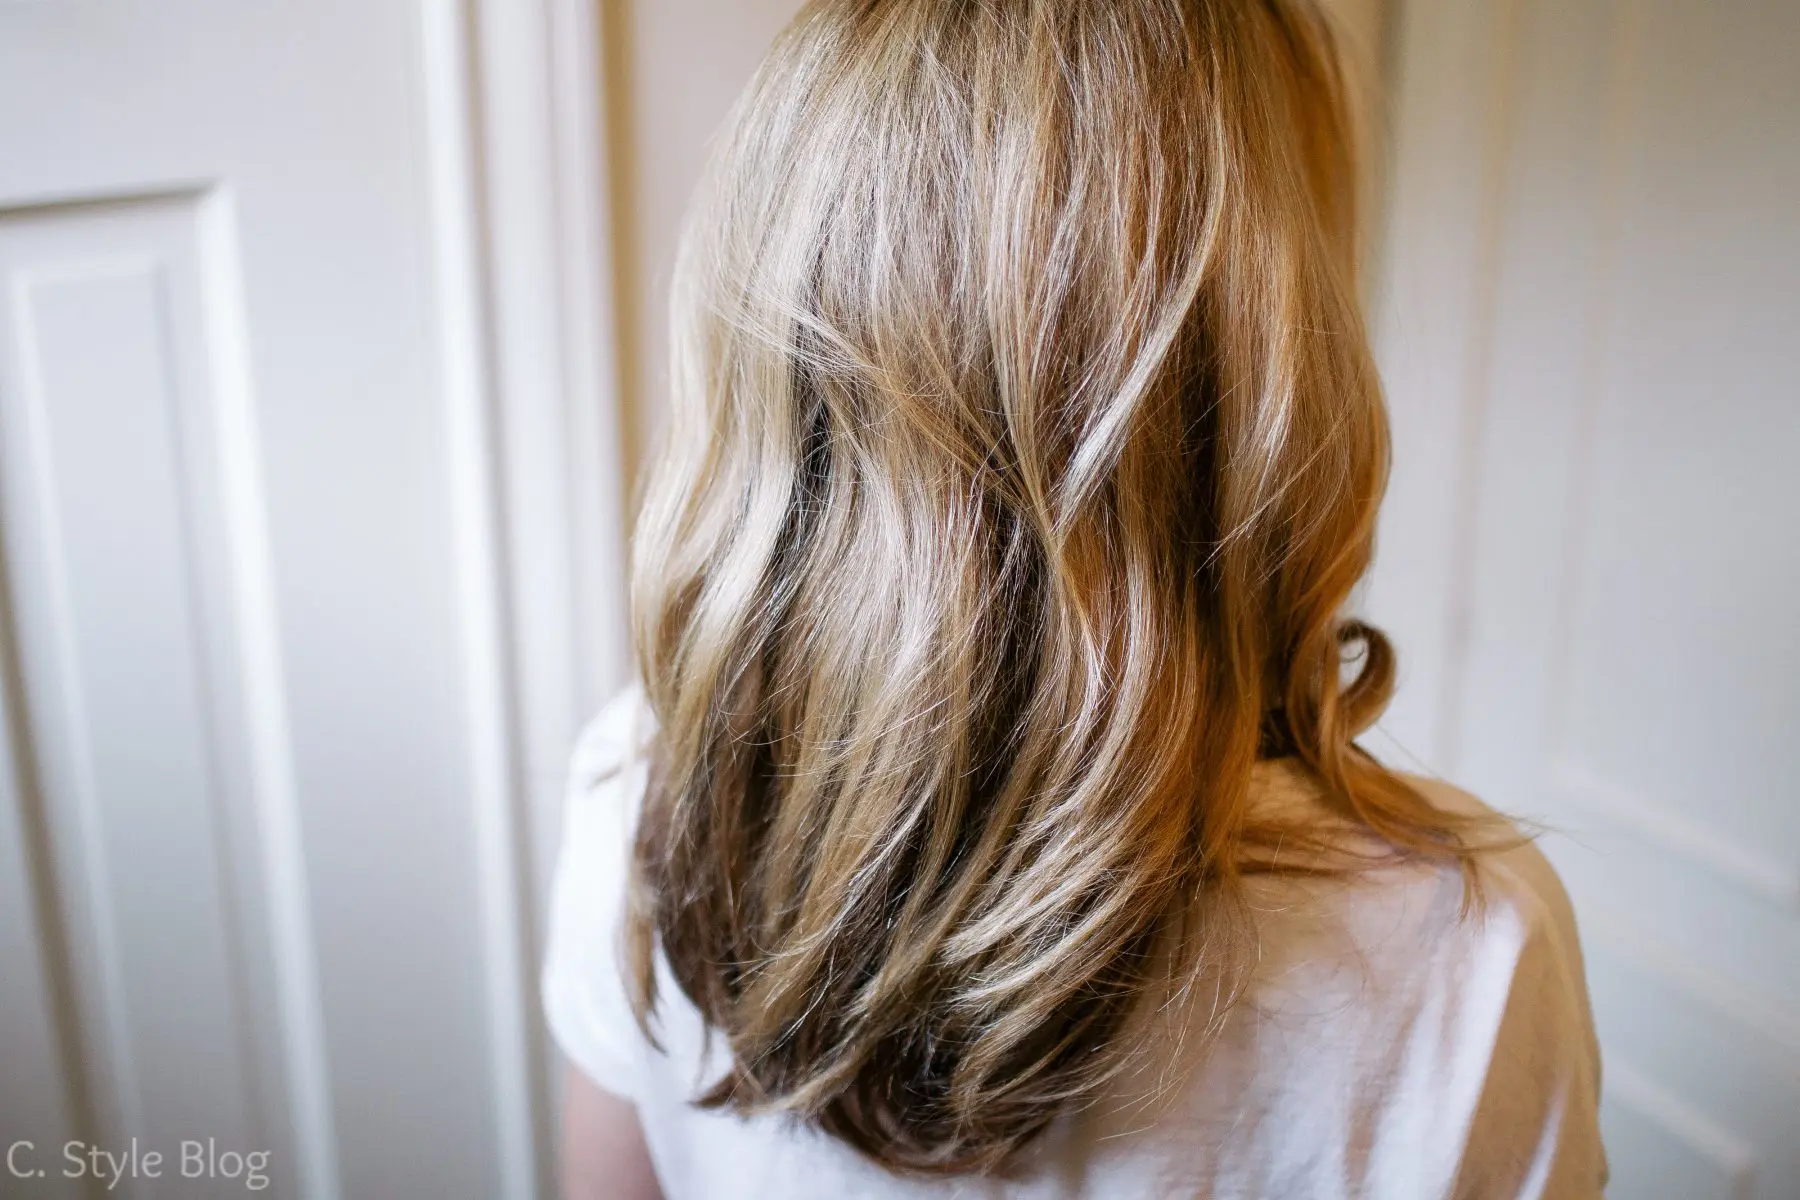
When I take my hair out of the bun, it look like this in the back…
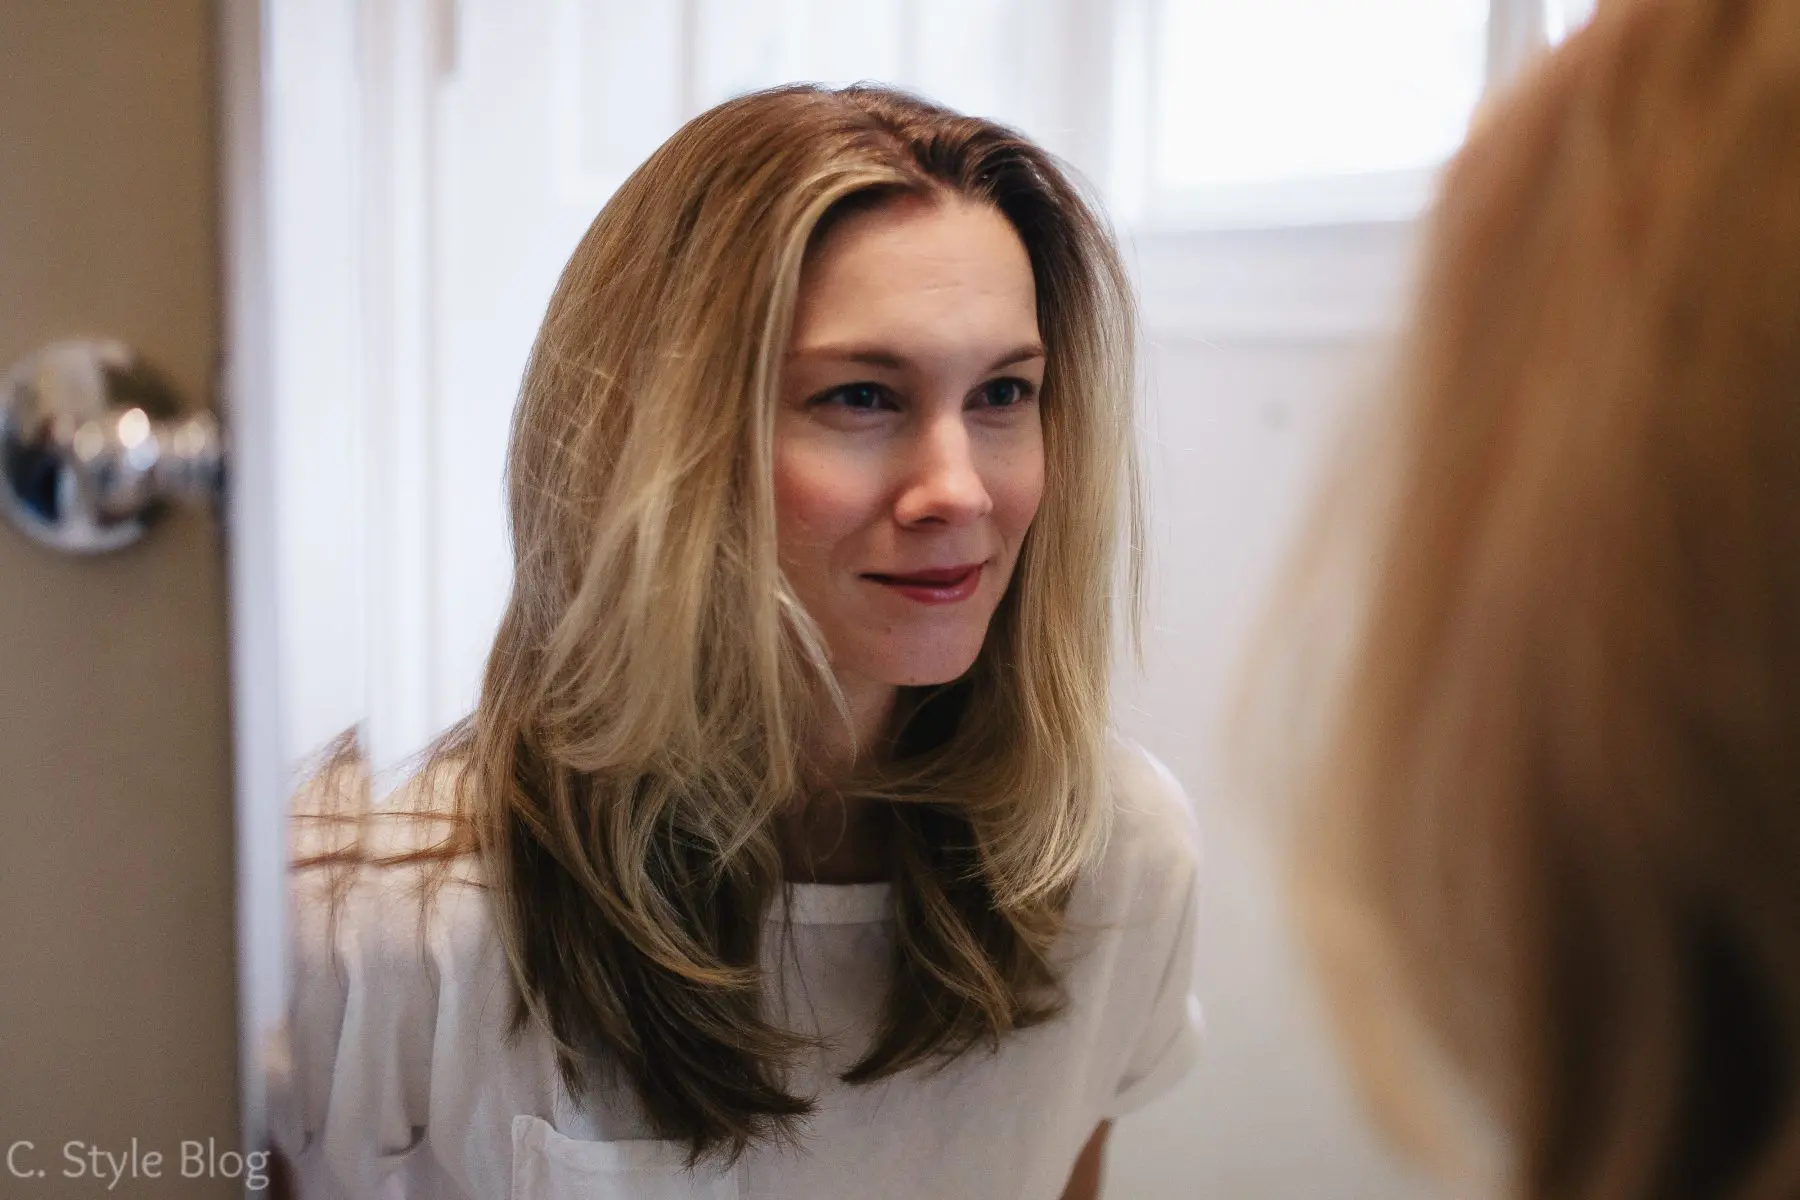
…and it looks like this in the front (front needs help -ha!)…
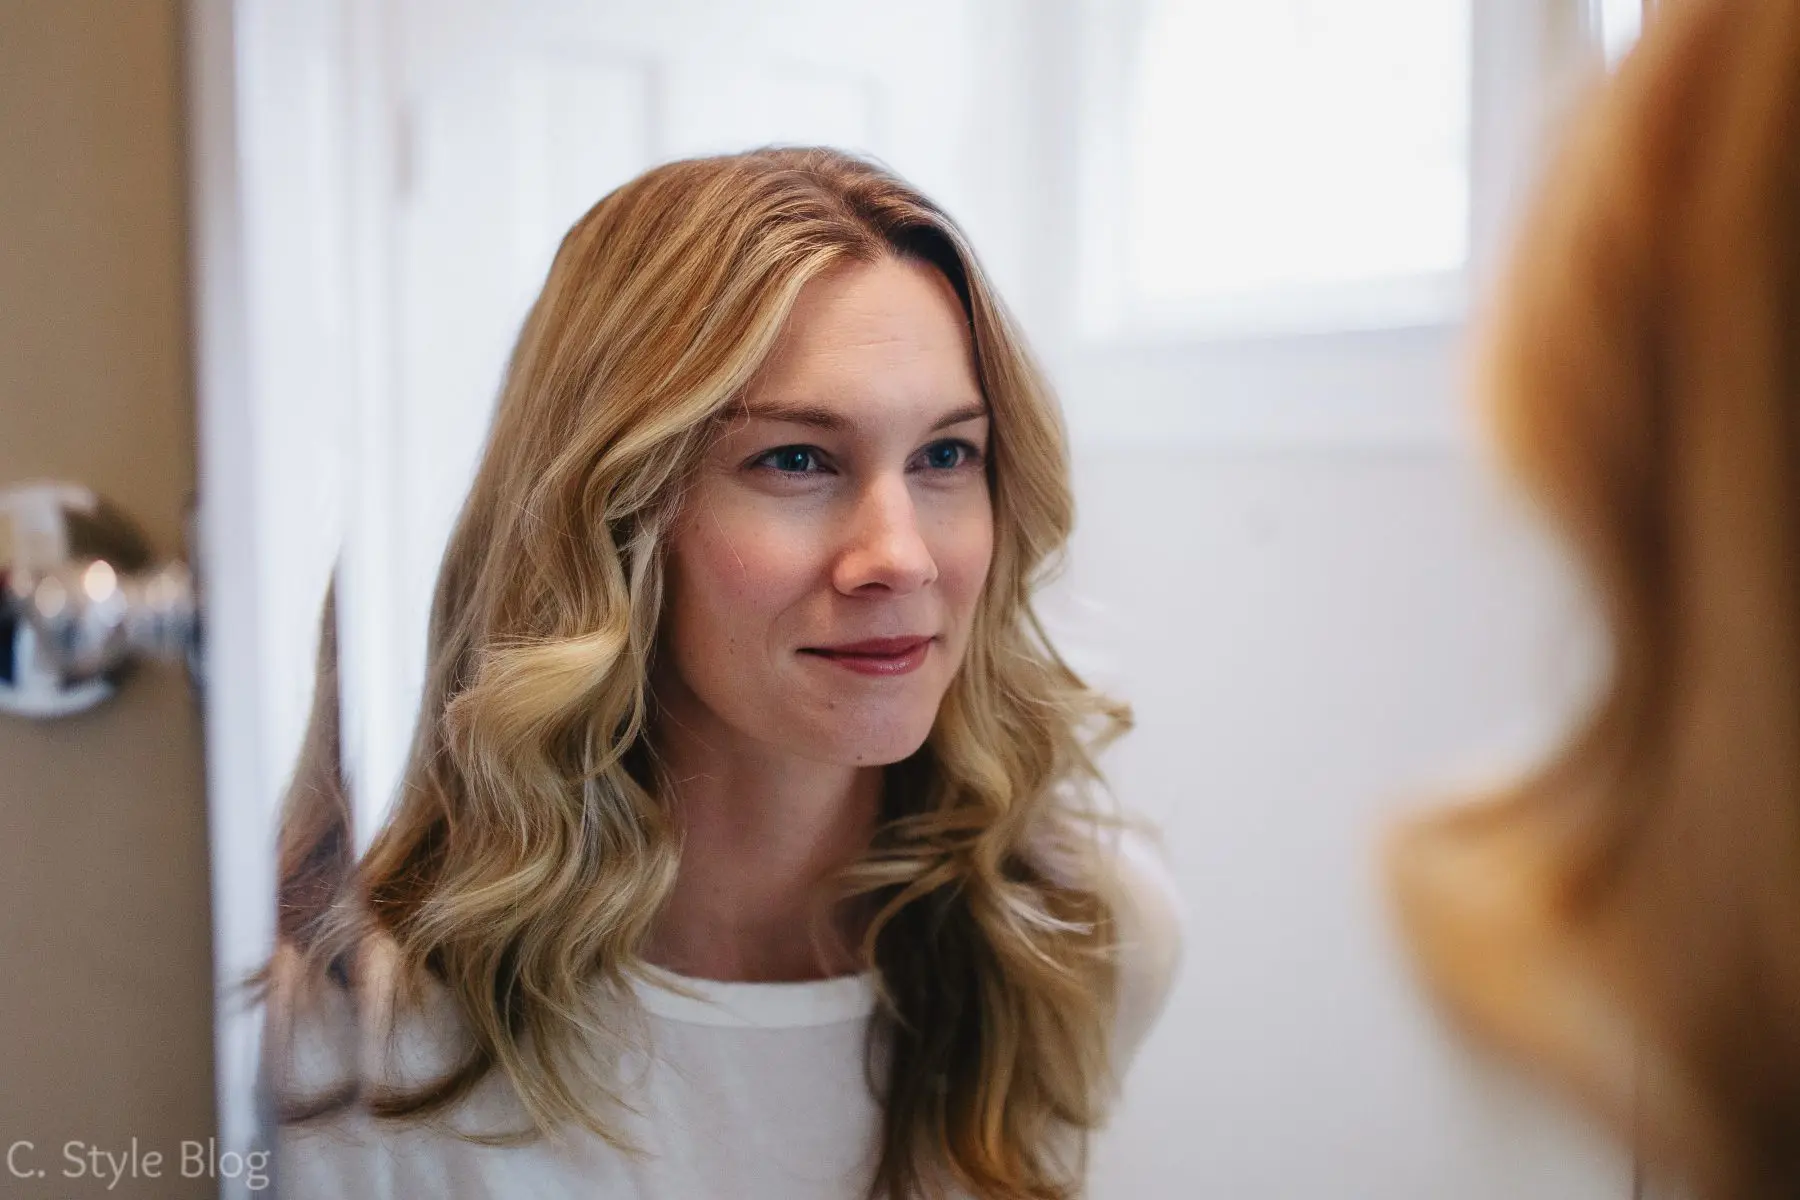
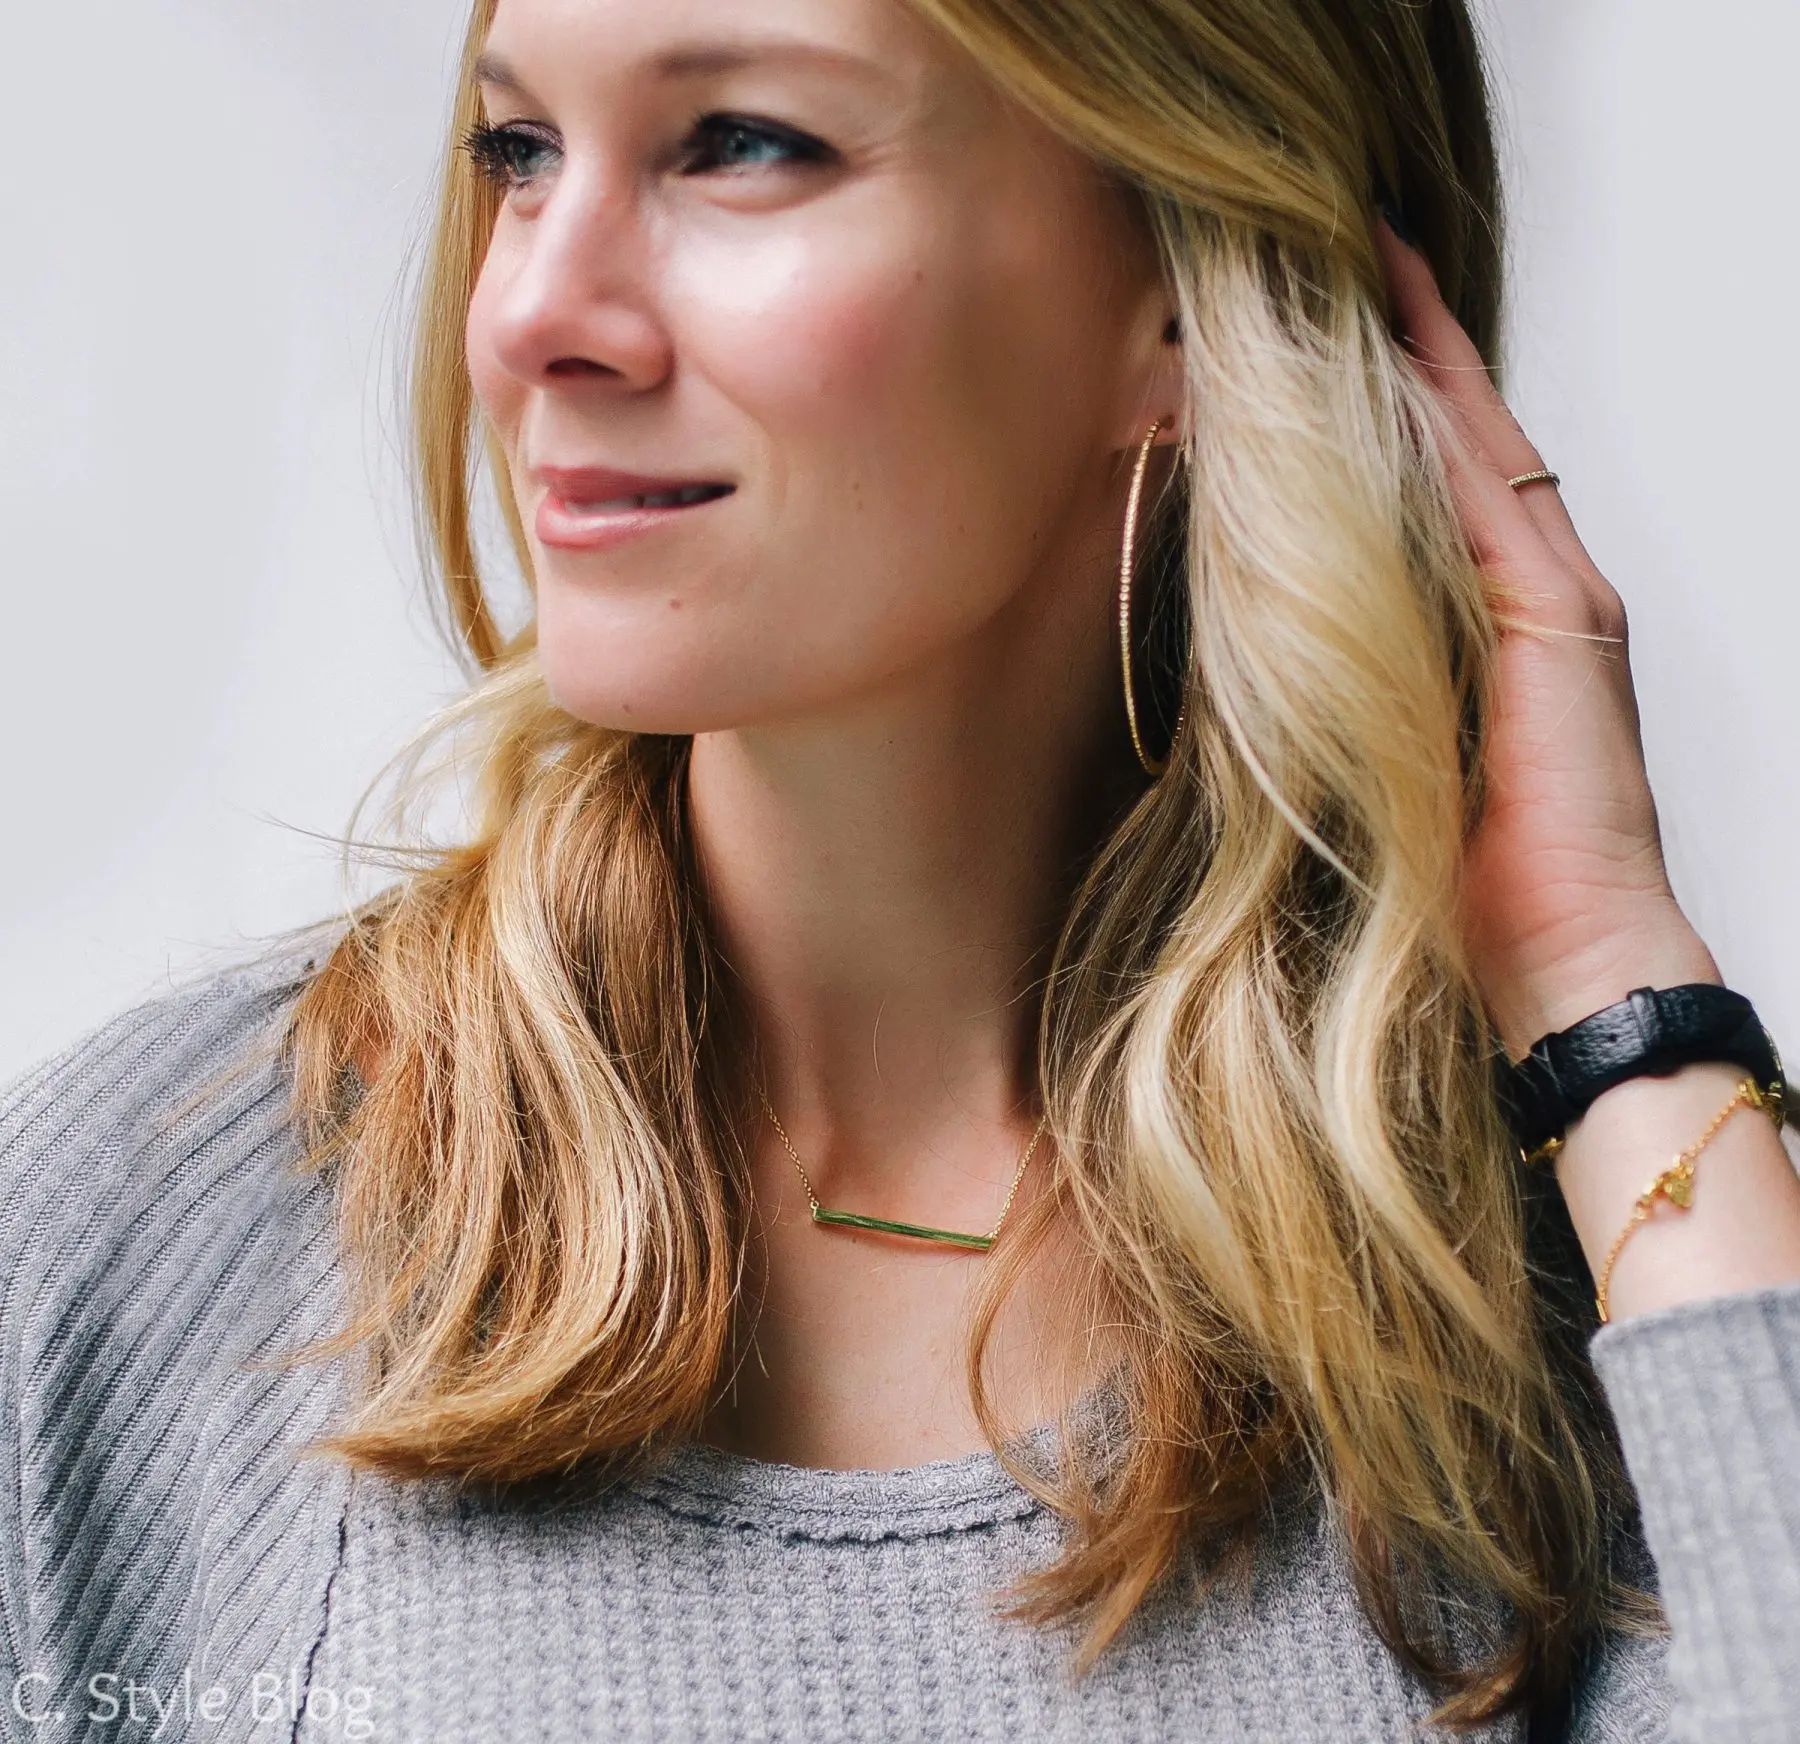
And when I’m finished, this is what it looks like in the front.
So, here’s how I do it.
- First I use dry shampoo on my roots. I find it covers my roots and adds volume.
- Then I start on the left side, holding the 3/4 inch wand with my right hand. I gather small sections of hair by my face and wrap the hair around the wand away from the face (this is important).
- Then I switch sides and hands (this is also important). For the longest time I couldn’t do the other side of my face, because I was still holding the wand with my right hand. If you are like me, it’s impossible. When curling the right side, try switching the wand to your left hand. It made it much easier for me!
- You can continue all the way around your head or just stop after the front. For special occasions I’ll do my entire head, otherwise I just do the front.
- Then comb your fingers through your hair.
- Depending on your hair type, you may need to hairspray each strand before curling it. For me, I like for my curl to fall and look more wavy, so I only add a little hairspray at the end.
If you want a good laugh, watch my eye balls in the video! #crazyeyes
Here are the products I used and what you guys can win!
Just enter the your info in the Rafflecopter giveaway below. For more chances to win, follow me on Pinterest and pin an image from this post, and head to my Instagram giveaway post and tag your girlfriends!
The giveaway ends Thursday at noon. Come back Friday to see who wins!
Photos by Traci Ling
Haircut and color by Robert Moore


Love the wand!
That video was great! So, I’m a hair novice…do you not really worry about curing the back? Thanks!